Editor de símbolos
Introducción
From the layer menu, in properties, you can access the Symbology section. It is possible to change or configure a new symbol clicking on “Select symbol” where you will find different configuration options.
Click on the “Select symbol” button and then on the “Properties” button. The window which opens will allow you to edit the properties of the symbol. This is the same window that will open if you click on “New”.
By default gvSIG symbolises the layers with 'unique symbols'.
As well as the basic options that can been seen at first glance, such as colour, breadth and the type of units in which the symbol is to be represented, you can also edit the properties of the element. Next a classification of the properties of an element is made according to its geometry type.
The dialogue boxes that open have common sections and others that are specific to the type of geometry, we see them as follows:
Common characteristics:
When a symbol, is configured from its Properties, be it a point, a line or a polygon, it can be defined:
- Its colour and transparency. Allows the fill-in colour to be chosen.
Under colour you find a scrolling bar, which allows you to play with the grade of the transparency of the elements. This way, you can superimpose polygon layers without interfering with its display.
- The breadth of the symbol. Allows you to define the breadth of the element.
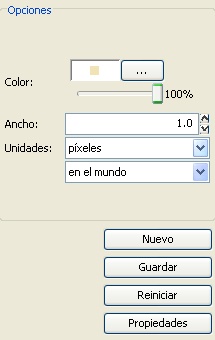
- Units: In this drop-down menu you can chose the type of unit which you want the symbol to be represented in. By default the unit which the symbol will be represented in are pixels, although you can chose between: Kilometers, meters, centimeters, milimeters, miles, yards, feet, inches, grades and pixels.
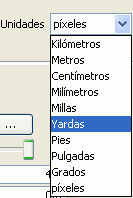
We can also specify if they are units “on the map” (the size would depend on where the zoom is set) or “on paper” (it will have a set size, both on screen and when it is printed).
- New: Access the properties of the symbols in order to make a new symbol.
- Save: Allows you to save the symbols you have created in gvSIG's library of symbols, with a .sym extension, in order to be able to use them as often as you need and also to configure different types of legends.
- Restart: Click on this button if you wan to restart the editing of a symbol.
Specific characteristics of each type of geometry:
Symbol type:
| Mercator | Lines | Fill-in |
|---|---|---|
| Of character | Simple line | Simple fill-in |
| Simple mercator | Mercator lines | Image fill-in |
| Mercator image | Line image | Mercators fill-in |
| Of character | Simple line | Line fill-ins |
| Of character | Simple line | Gradient fill-ins |
The mercators represent the layers of the points.
The lines represent the linear layers.
The fill-ins represent the polygon layers.
All three together represent the multi-geometric layers.
Marcador o símbolo puntual.
You can chose between different Markers that are shown in “Type of Marker”.
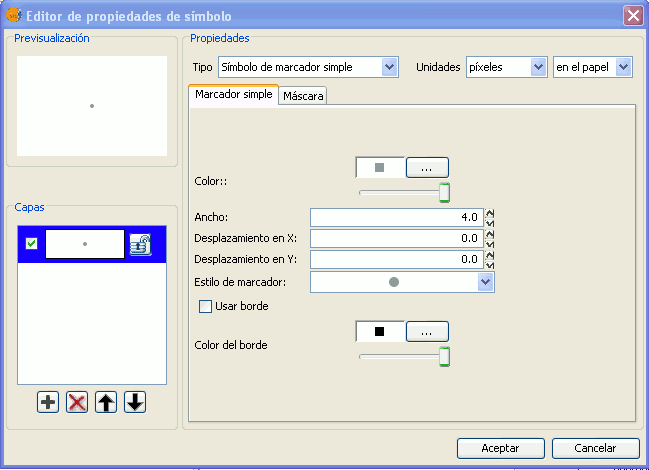
Simple Marker:
In “Marker style”, select the marker (circle, square, cross...). You can modify its size, angle and colour as well as being able to move it around the ordinate and abscissa axis.
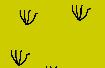
Marker made up of simple markers: you can make up a marker from various other simple markers by “overlapping” one over the other, this is done by clicking on “add layer”, where each layer is a simple marker. You can delete or change the order of the layers by clicking on “Delete layer” or “Tidy layers”. In the following image there is an example of a symbol made up of various simple markers.
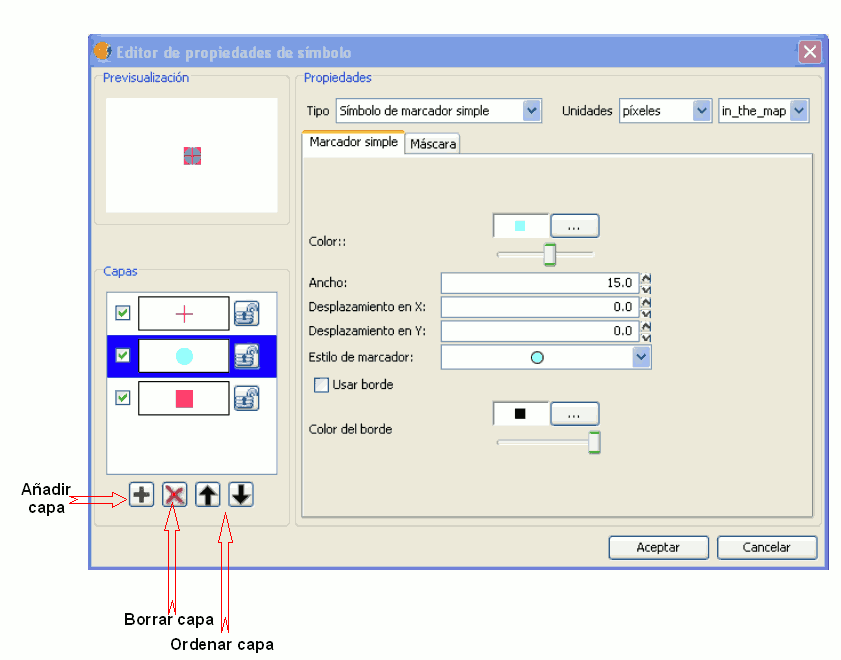
You can make the symbols stand out by choosing the colour of the outline and giving it the same transparency as the fill-in of the symbols. To give the symbol an outline you must check the “Use outline” box. You can move the symbol around the ordinate and abscissa axis or leave it in the centre.
Character marker:
You can use the different alphanumeric character types to create a symbol, you can modify its size, angle and colour as well as being able to move it around the ordinate and abscissa axis.

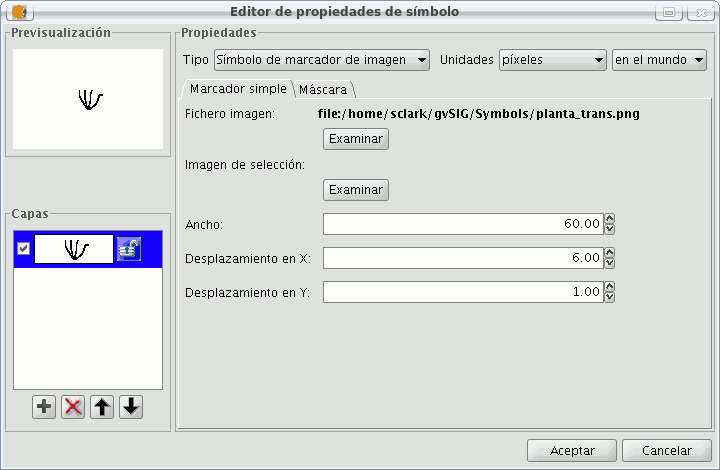
Picture marker:
You can chose whichever image you want to represent the symbol. This image can be in different formats (jpg, png,bmp, svg..., you can even download an image from the internet, as long as the format is supported by gvSIG). To add it just select the path where the image is saved by clicking on “Examine”, next to "Image file".
Also, you have the option of selecting a different image, which is to represent the geometries, when they have been selected and are in view. Do this by entering the path of the image in "Selected image".
You can move the symbol around the ordinate and abscissa axis or leave it in the centre.
Líneas o símbolo lineal
You can choose between different Mercator that are shown in the “Mercator type”.
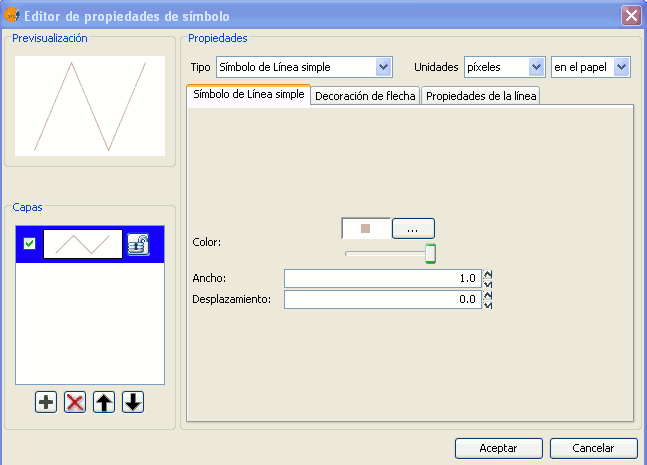
Simple line symbol:
You can choose the colour of the line, its breadth and its movement (offset), as well as having the option to modify its opaqueness and, of course, its measurement units.
As well as that the layers of the points can make up one line with various lines “overlapping” using the same method than which in the layers of points.
In the “Line properties” tab you can generate different types of lines, continuous lines which gvSIG has as default, or discontinuous lines, establishing the fill-in pattern you choose. For this a rule is made available from which you can design your own patterns.
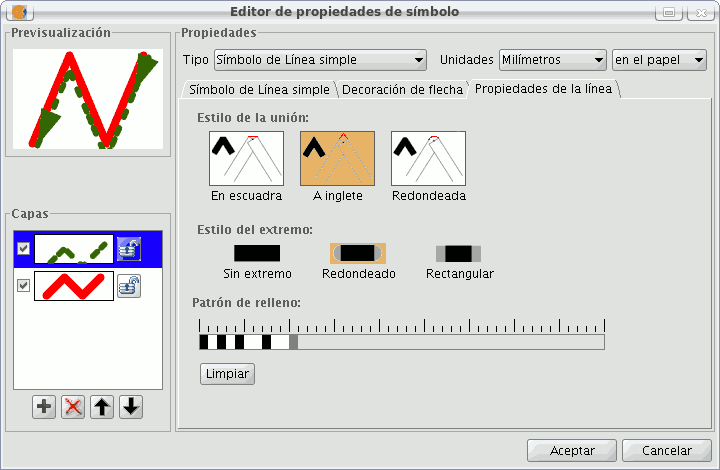
- Fill-in pattern:
Click on the grey section which is on the rule and drag right, next click on the rule, in the rule section you want, and a black section will appear which you can eliminate if you “click” on it again. This way you can successively add sections which can design your line.
If you want to delete the designed line click on “clean”.
- Boarder style: You can chose between round, rectangular or none for the boarder style.
- Style of the union: You can chose between square, angles and rounded for the union of the lines.
In the “Arrow decorations” tab you can turn a line into an arrow. To make this happen check the “Use decoration” box.
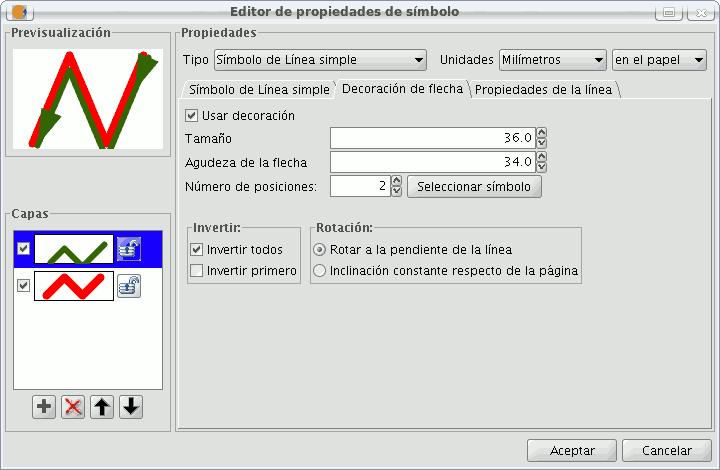
The options available to decorate the arrow are:
- The size of the arrow.
- The sharpness of the arrow.
- Nº of positions: Number of times you want the “point” of the arrow to be repeated along the line.
- Choose Symbol: This button will take you the simple Mercator of a layer of points menu, here you can select the shape of the arrow “point” and configure it as if it were any other symbol.
- Reverse: You have the option of reversing the first or all the arrows from the line.
- Rotation: You can chose between the “point” of the arrow rotates according to the slope of the line or that it has a permanent inclination according to the page.
Mercator line symbols:
You can use different font types, such as characters, to create a symbol, modifying its breadth and separation.
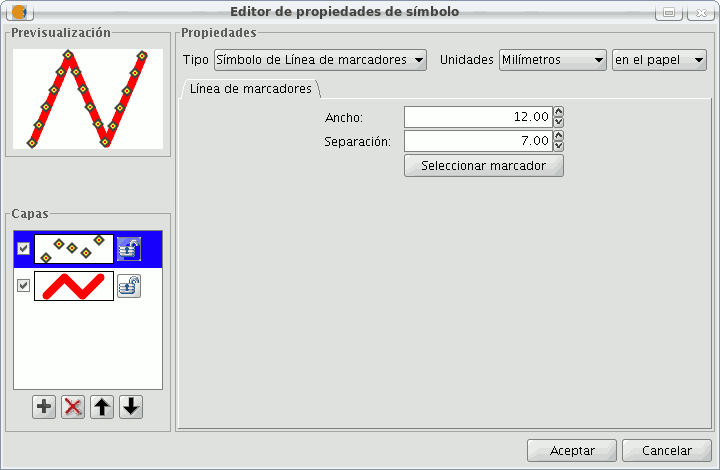
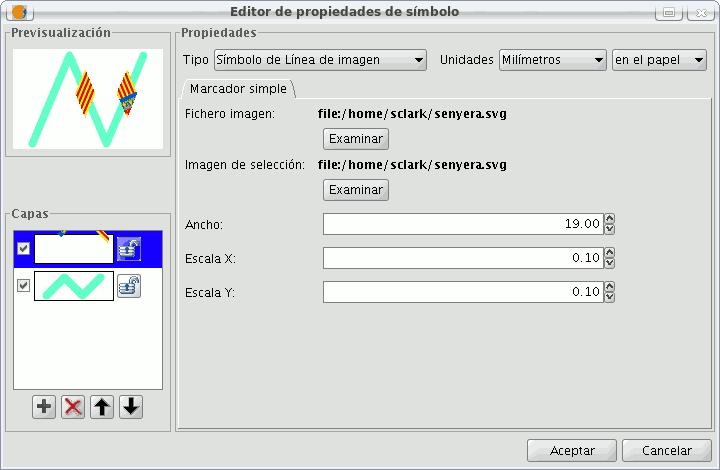
Image line symbol:
You can chose the image you want to make up the line, this image can be in different formats (jpg, png, bmp, svg...). To add the image you only have to select the path to where the image is saved by clicking on “Examine”. You can set the breadth and scale the image in “X” and “Y”.
Rellenos para símbolos poligonales
The following fill-in Types for polygonal geometry layers are available.
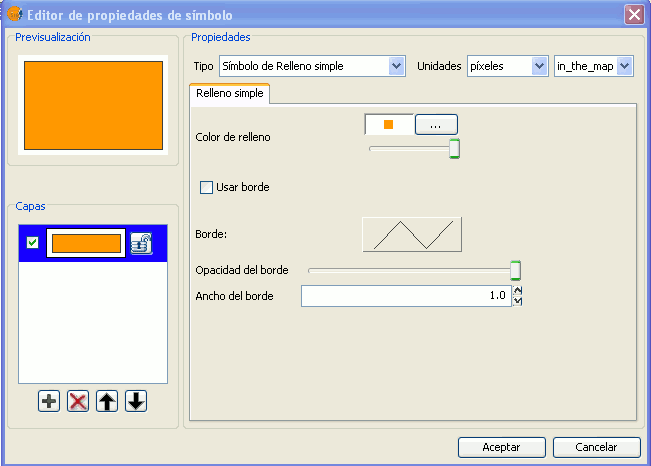
Simple fill-in:
You can choose the polygon fill-in colour and its opaqueness.
Click on the button where you can see the outline and the simple symbol of a line properties menu will open. Here you can configure the outline of the polygon as if it were a line.
You can give the outline the breadth and opaqueness you want.
Fill-in made up of simple mercators: You can make up a fill-in from various simples by “overlapping” them, it is the same method as that which is explained in the layers of points and lines.
Mercator fill-ins:
You can give the polygon a fill-in made up of different types of mercators, such as punctual, linear, image... with their own characteristics.
The fill-in can be organised in an aleatory way or in a regular mesh way.
There is the option to make compositions with various layers.
Line fill-in:
Instead of filling the polygon in with specific mercators you can do so with lines, you can give them the same properties that you gave a line layer, including the outlines.
As in all sections, here you can also create a composition through different layers.
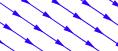
Image fill-in:
You can fill-in the polygon of images and set their inclinations by indicating the angle and you can also scale them.
The way to fill-in the polygon of images is by giving them the specific route to the image. These images can be framed, click on “Outline” and select the line you want.

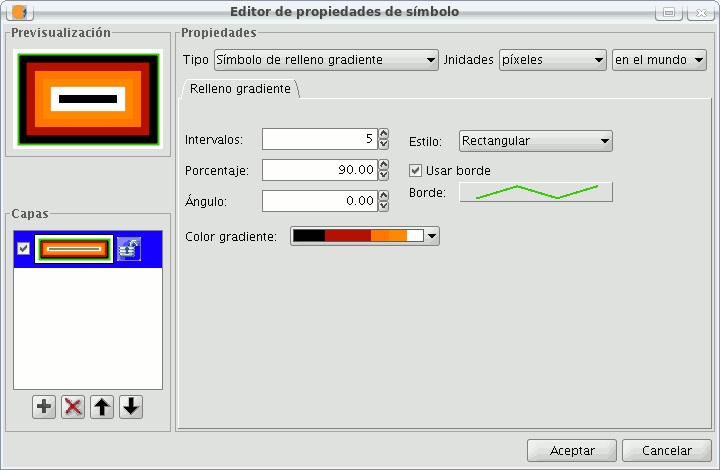
Gradient fill-in:
The possibility of gradually filling-in is available, you can select different options to configure the gradual scale of the colour, these options are:
- Intervals: Nº of intervals you want the gradual changing of the colour to be structured by.
- Percentage: You can chose to set the percentage of gradual change between 0 and 100%.
- Style: Select the style that you want for the fill-in from the drop-down menu.
- Angle: Angle of the fill-in colour.
- Colour gradient: Select the colour scale you want.
- Outline: Give the ploygon an outline, the process of this is the same as if it were a line.